Netlify

Let's get on the internet!
Today I'll show you the steps to put your own website on the internet.
Note that if any of the screenshots in the steps below are too small, you can click on the image, opening it in a new tab, thus making it easier to zoom in on.
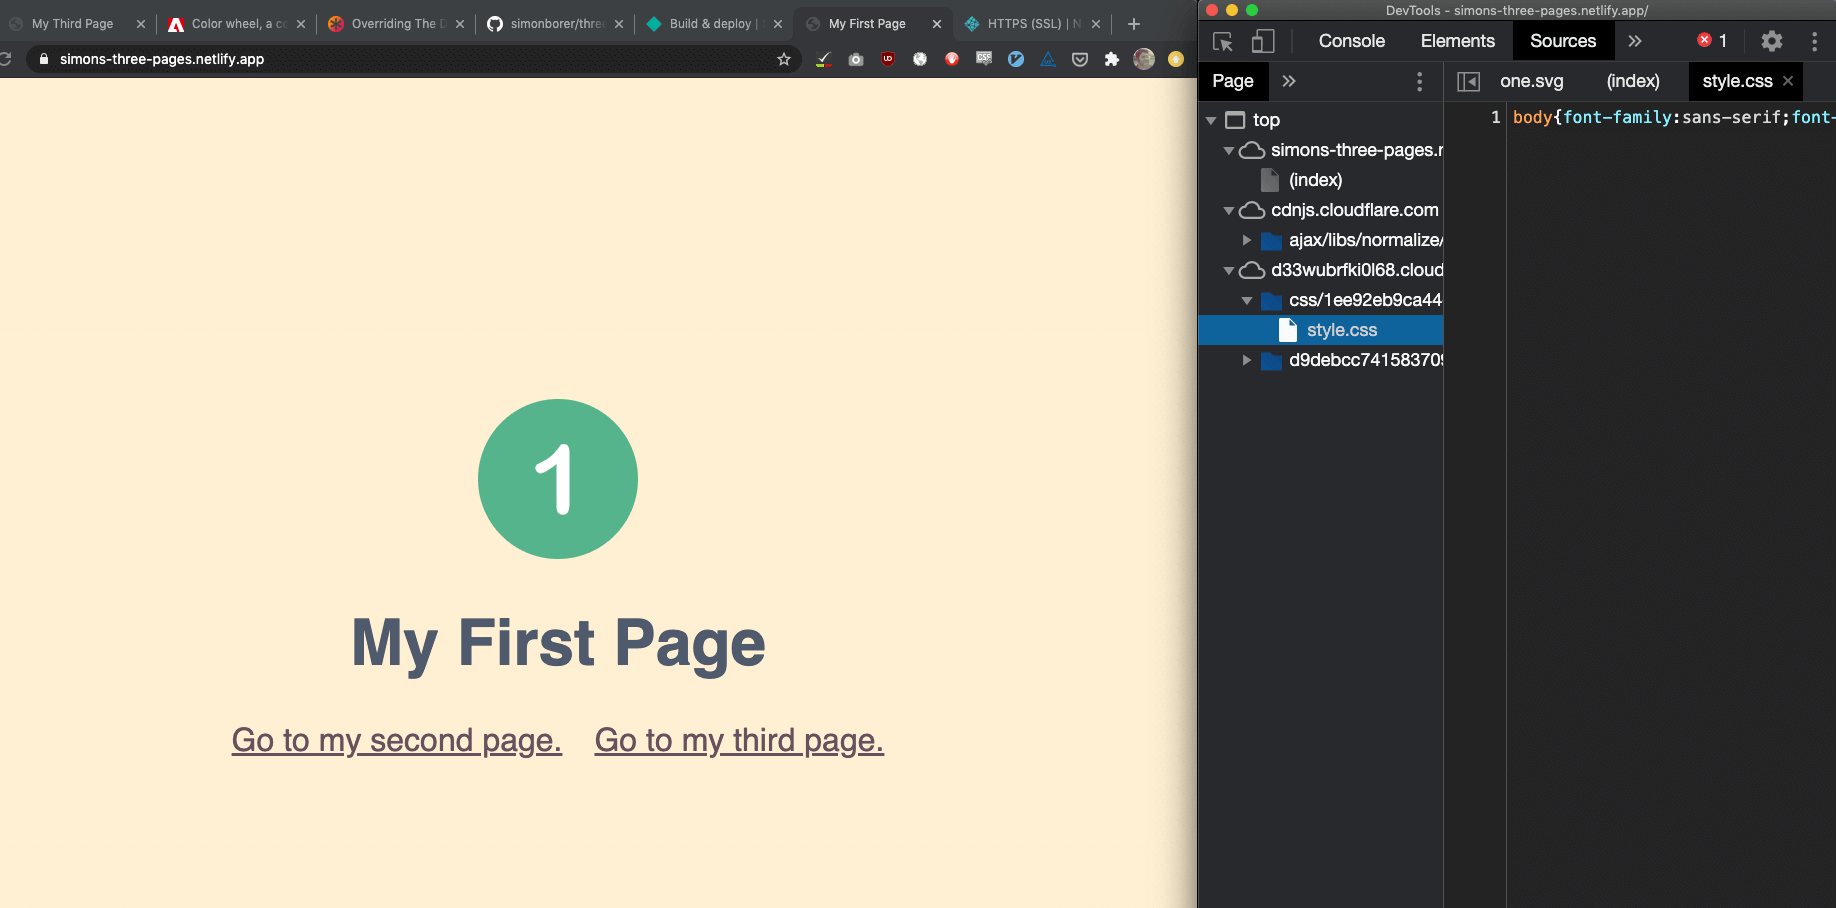
Step 1: Make a website
Write an html page, or several.
Step 2: Put it on Github
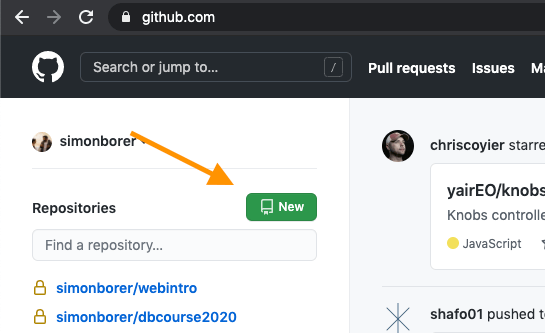
Log in to your github account Opens in a new window.
Create a new repository.
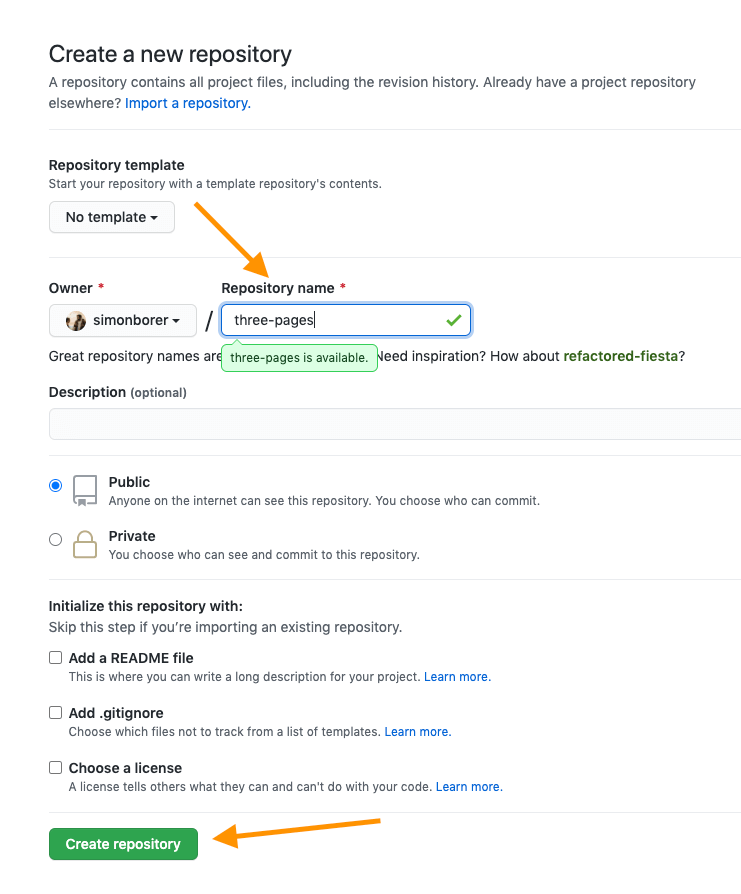
Choose a name for your repo, and then click "Create repository".
After you create your repository, you'll see a screen like this. Click the link in the text that says, "uploading an existing file".

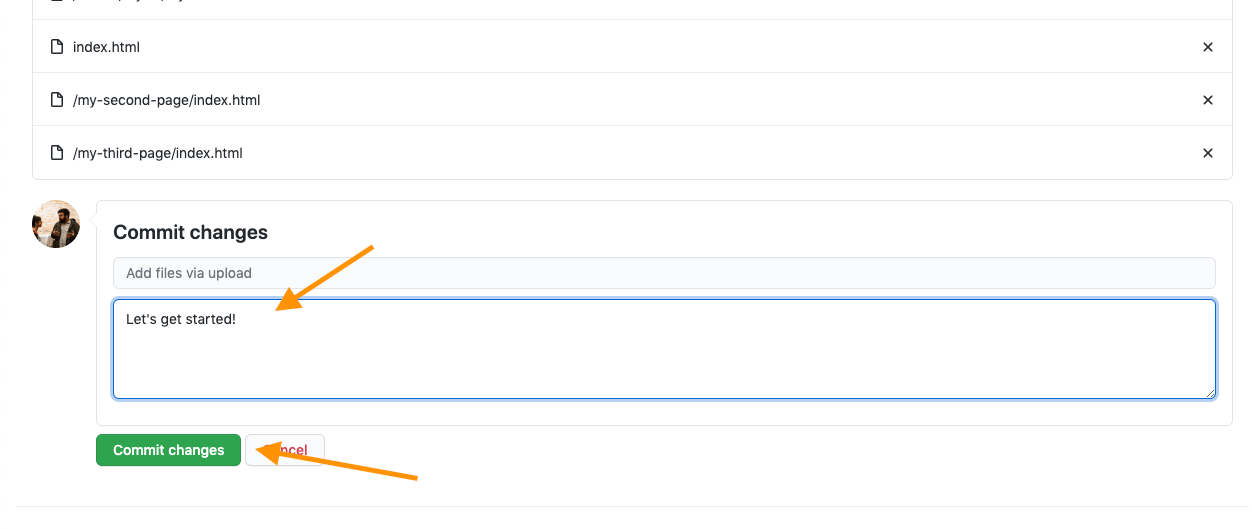
Now you can just "drag and drop" all your website files and folders into Github.

When your files are uploaded, enter a "commit message". You'll want to make a note here every time you change to any of your files, but for the first upload, something like "first upload" is fine.
Step 3: Connect it to Netlify
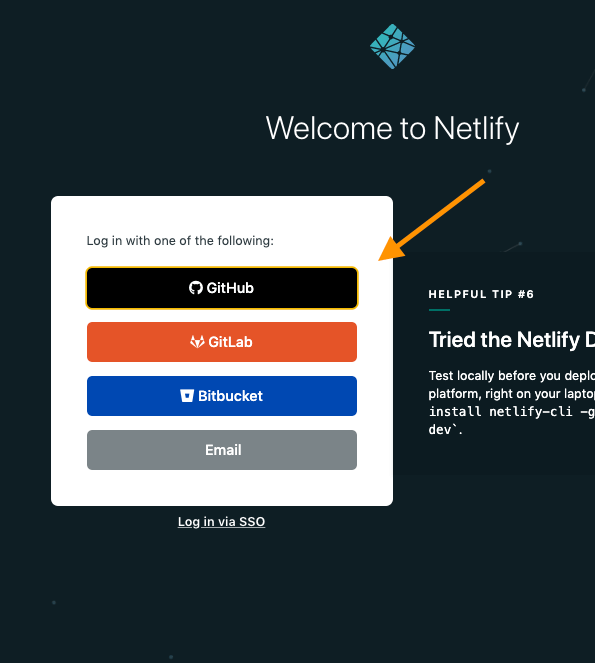
Log in to your Netlify account Opens in a new window using your Github account.
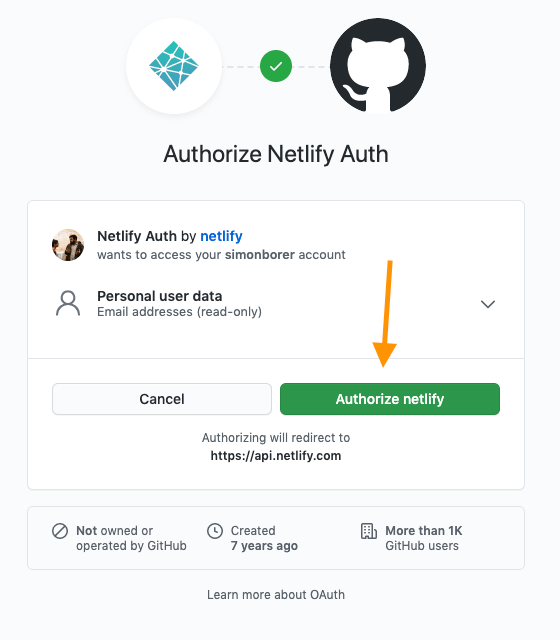
You'll be asked to approve Netlify connecting the two accounts.
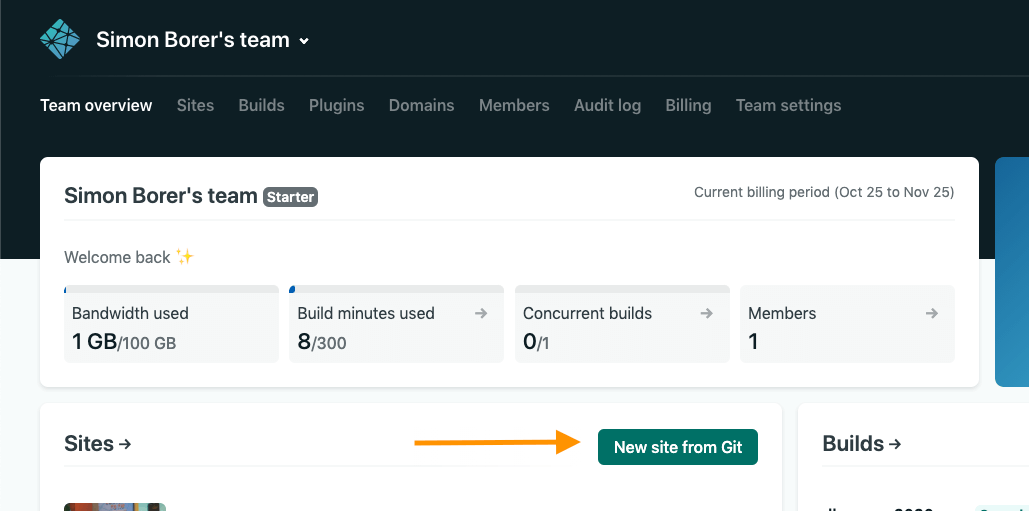
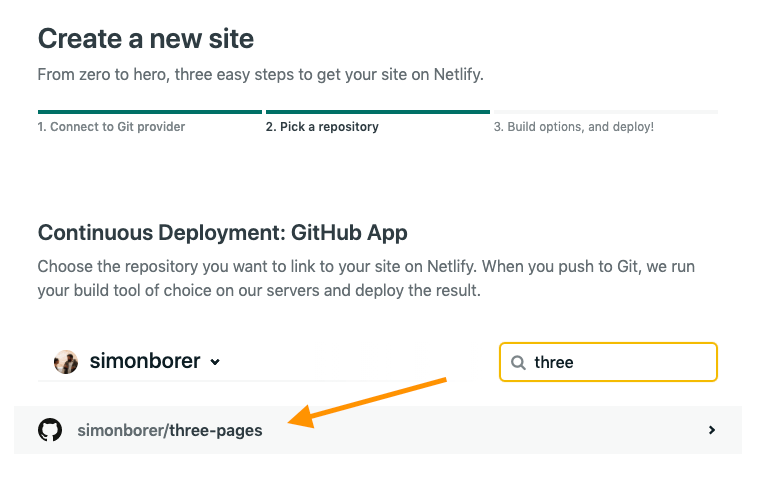
To get your site going, start a new site.
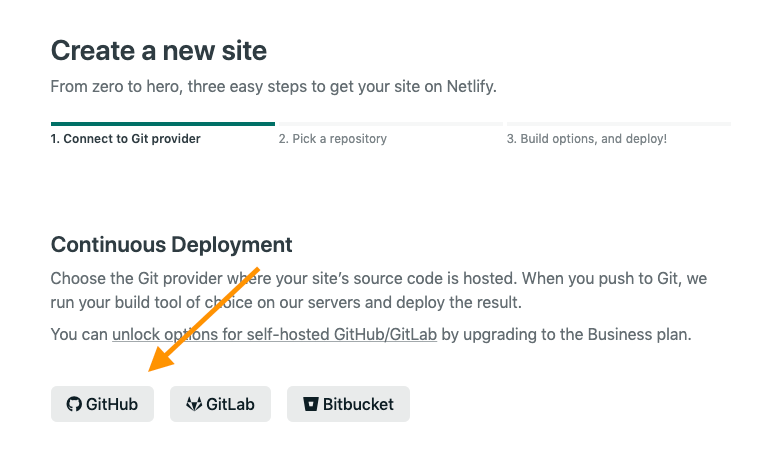
Choose Github as your source
Choose the repo you created
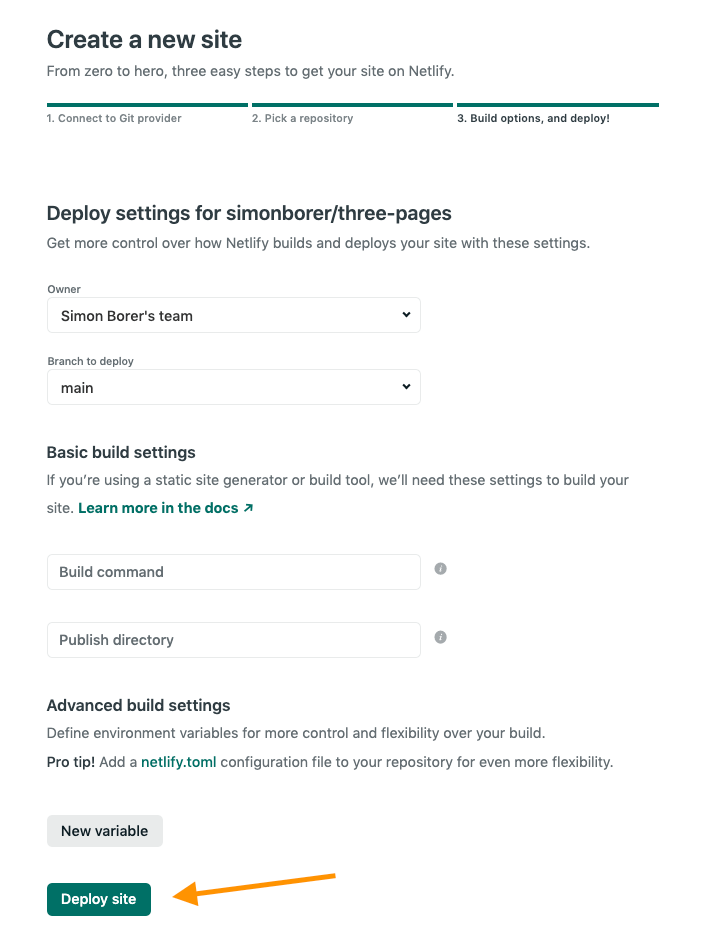
Deploy!
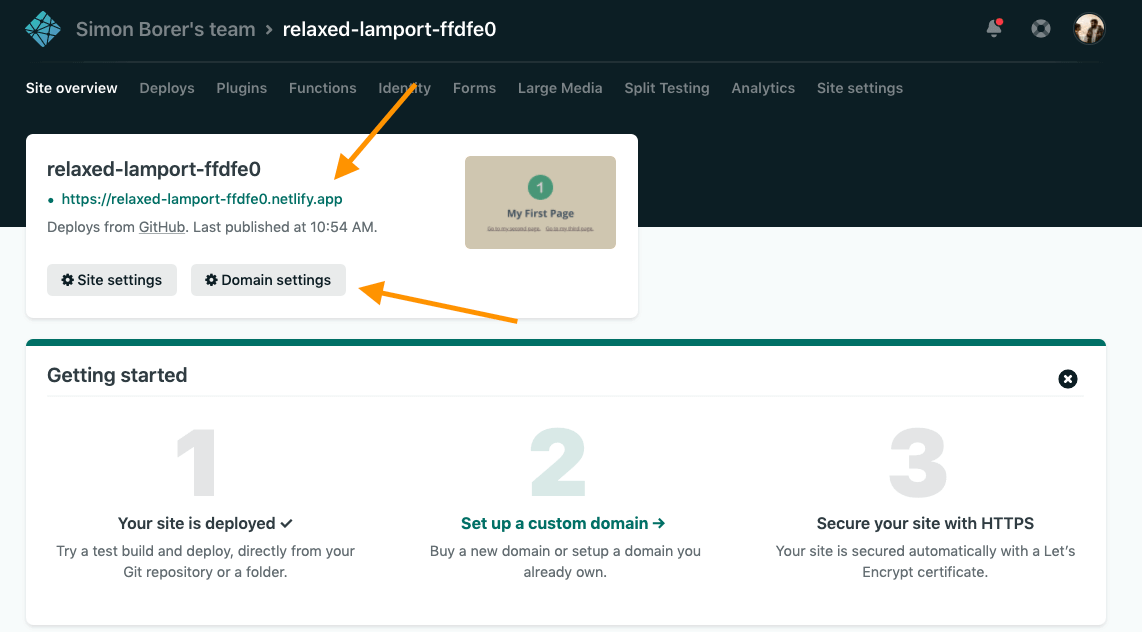
Take a moment to click on your site's ugly new URL and enjoy the power of putting stuff on the internet. When you're ready, come back and let's play with the settings.
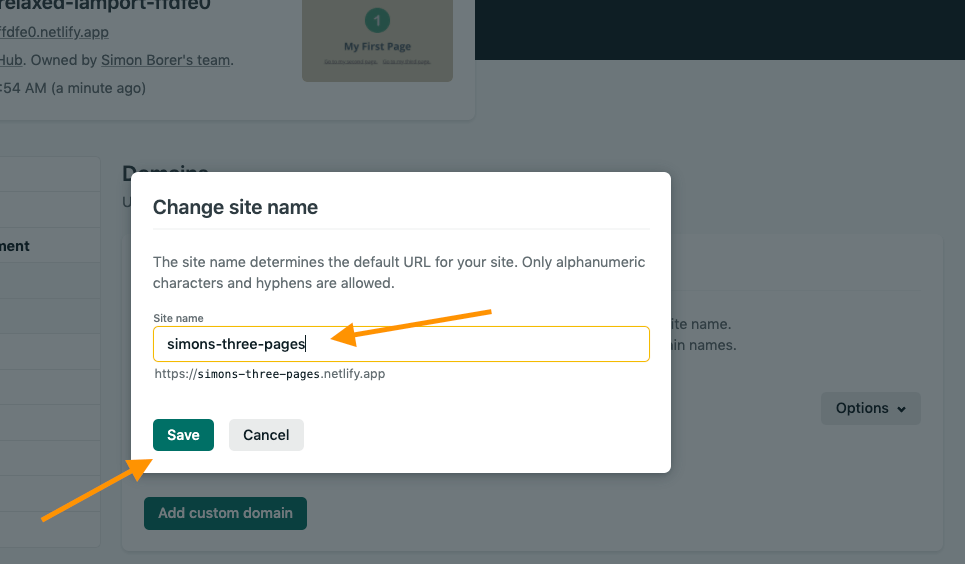
Renaming your site
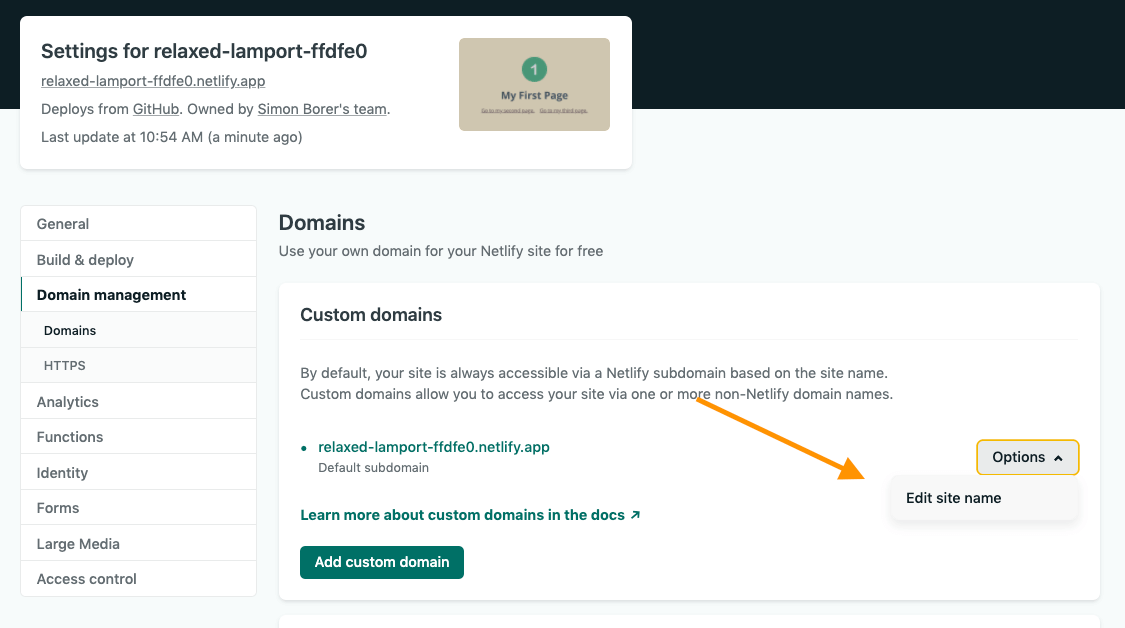
Choosing a name
Optimize!
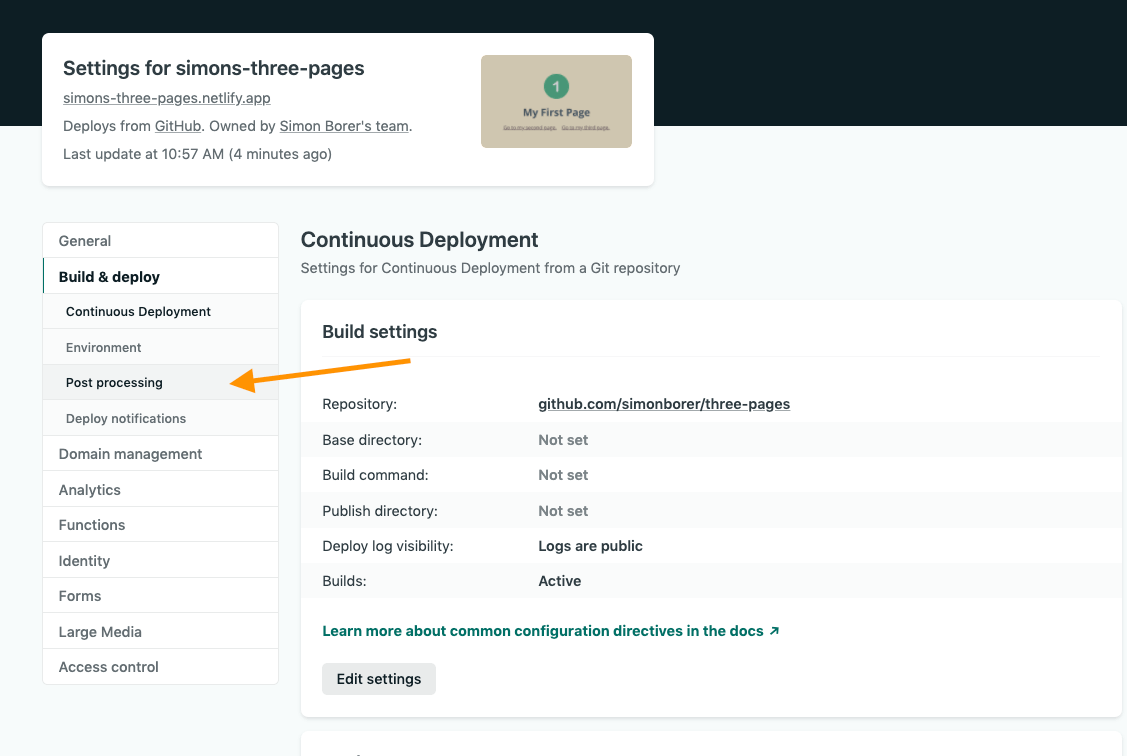
Optimize...soon
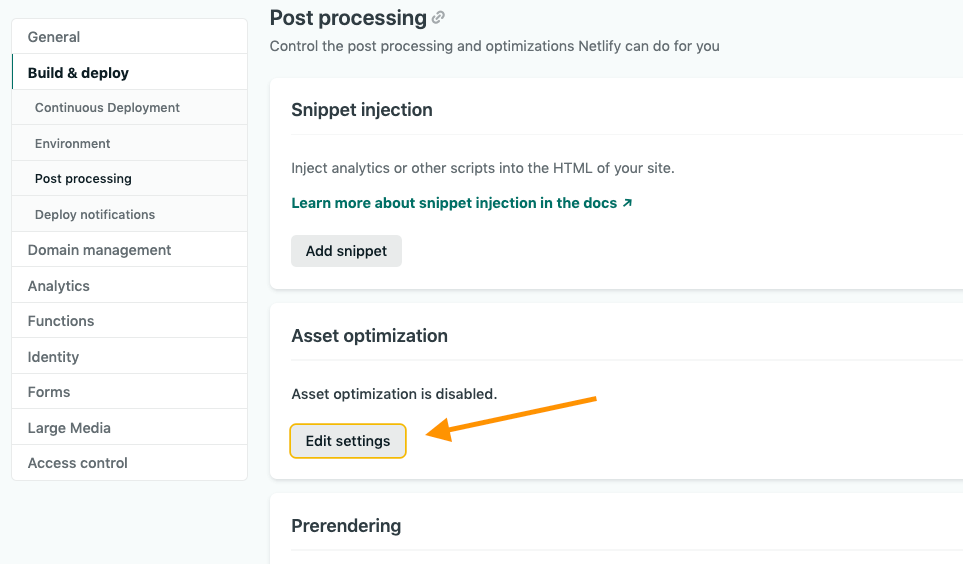
Optimize...now!
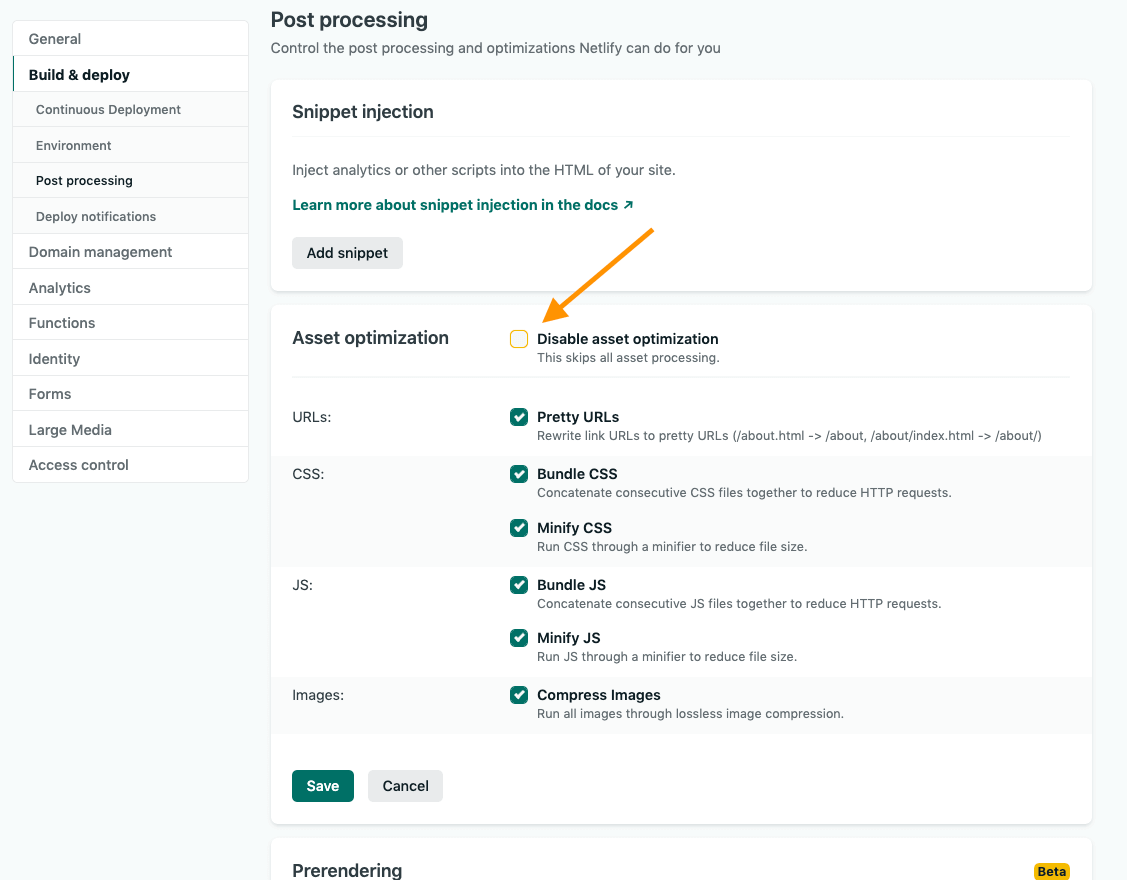
Where's our optimization?
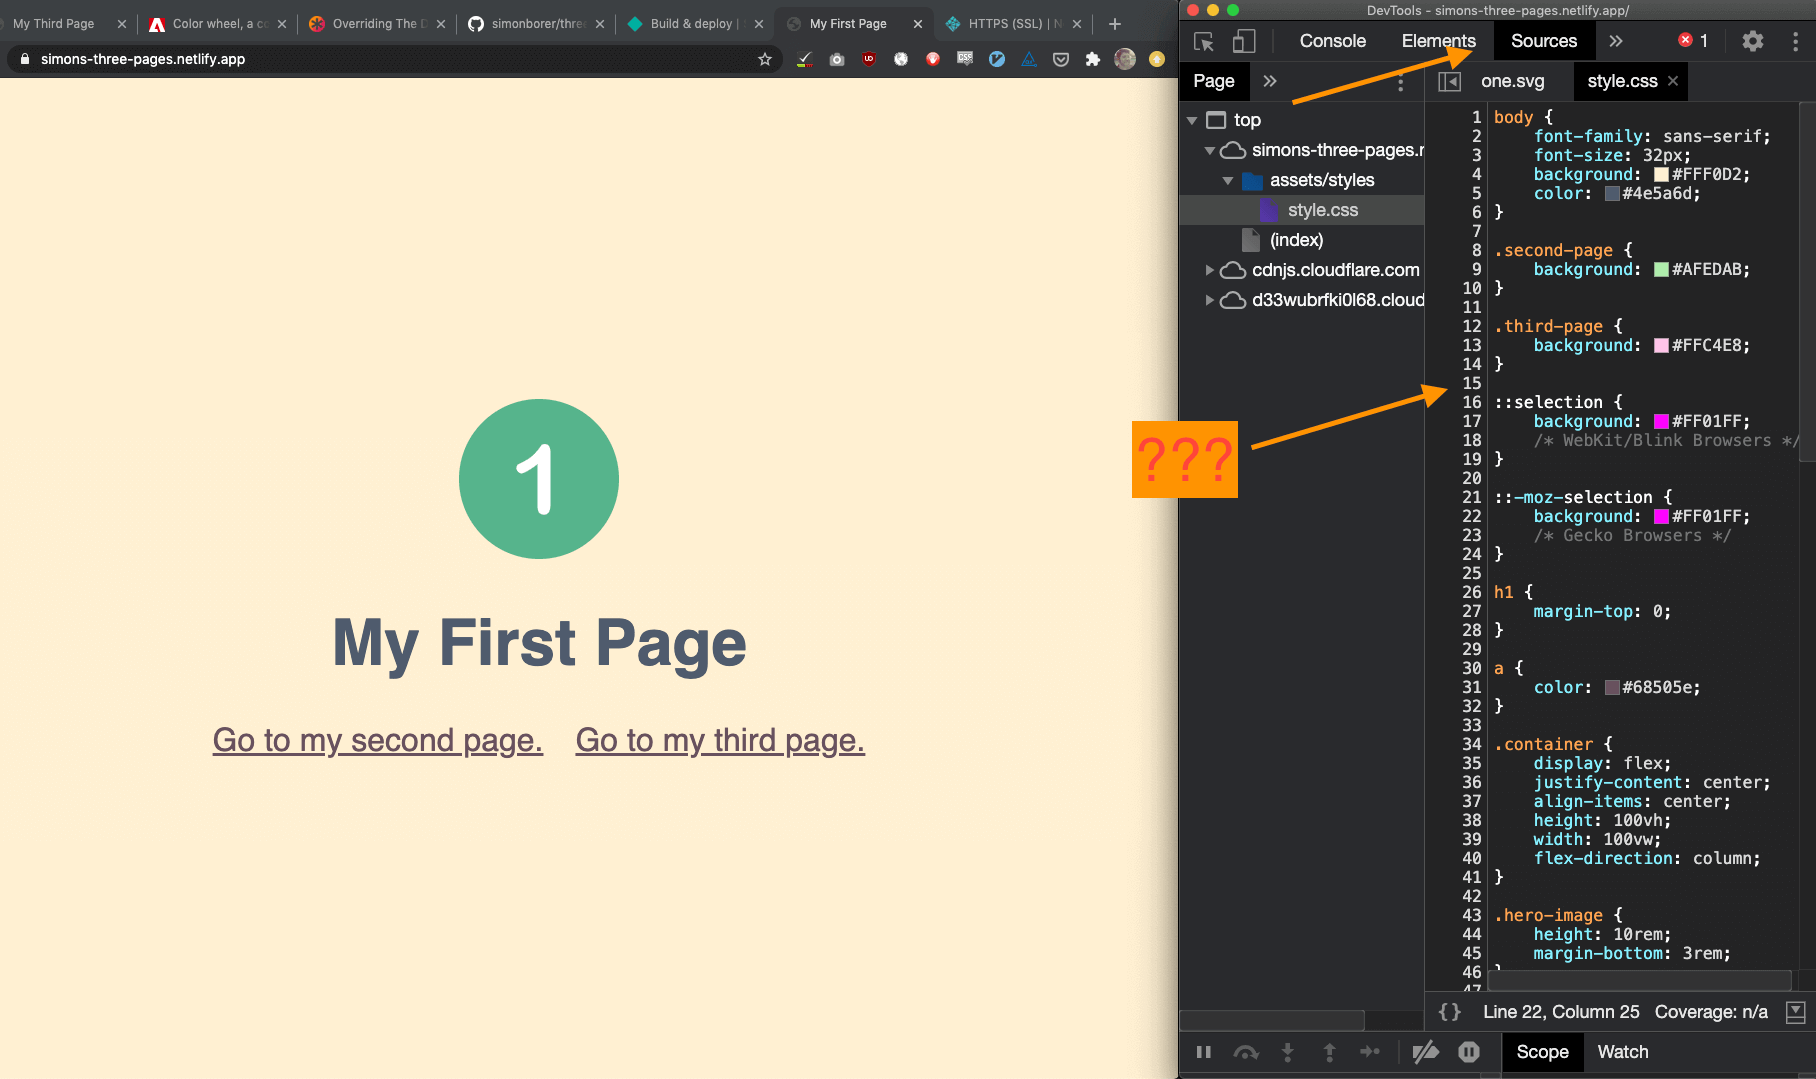
If you go back and check your website, your assets won't be optimized yet. Why is that? Does it take a long time for Netlify to deploy your site?
Nope, Netlify usually deploys within a minute (depending on how complicated your site is). But Netlify will only update your website when you make changes to your code.
So let's make some changes!
Let's change it up.
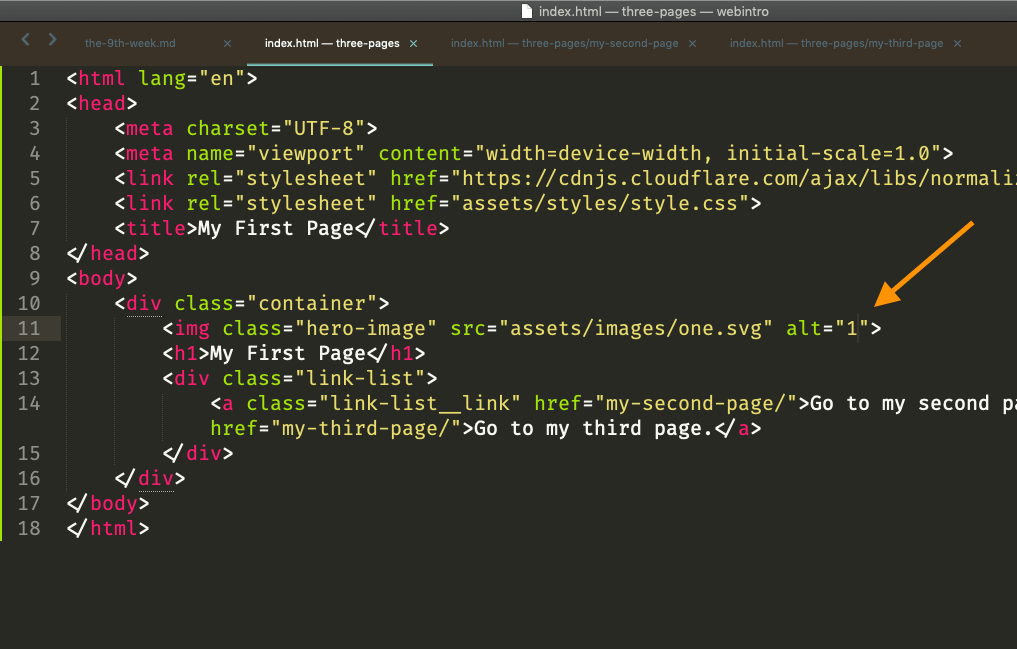
Make a change to your code in your text editor.
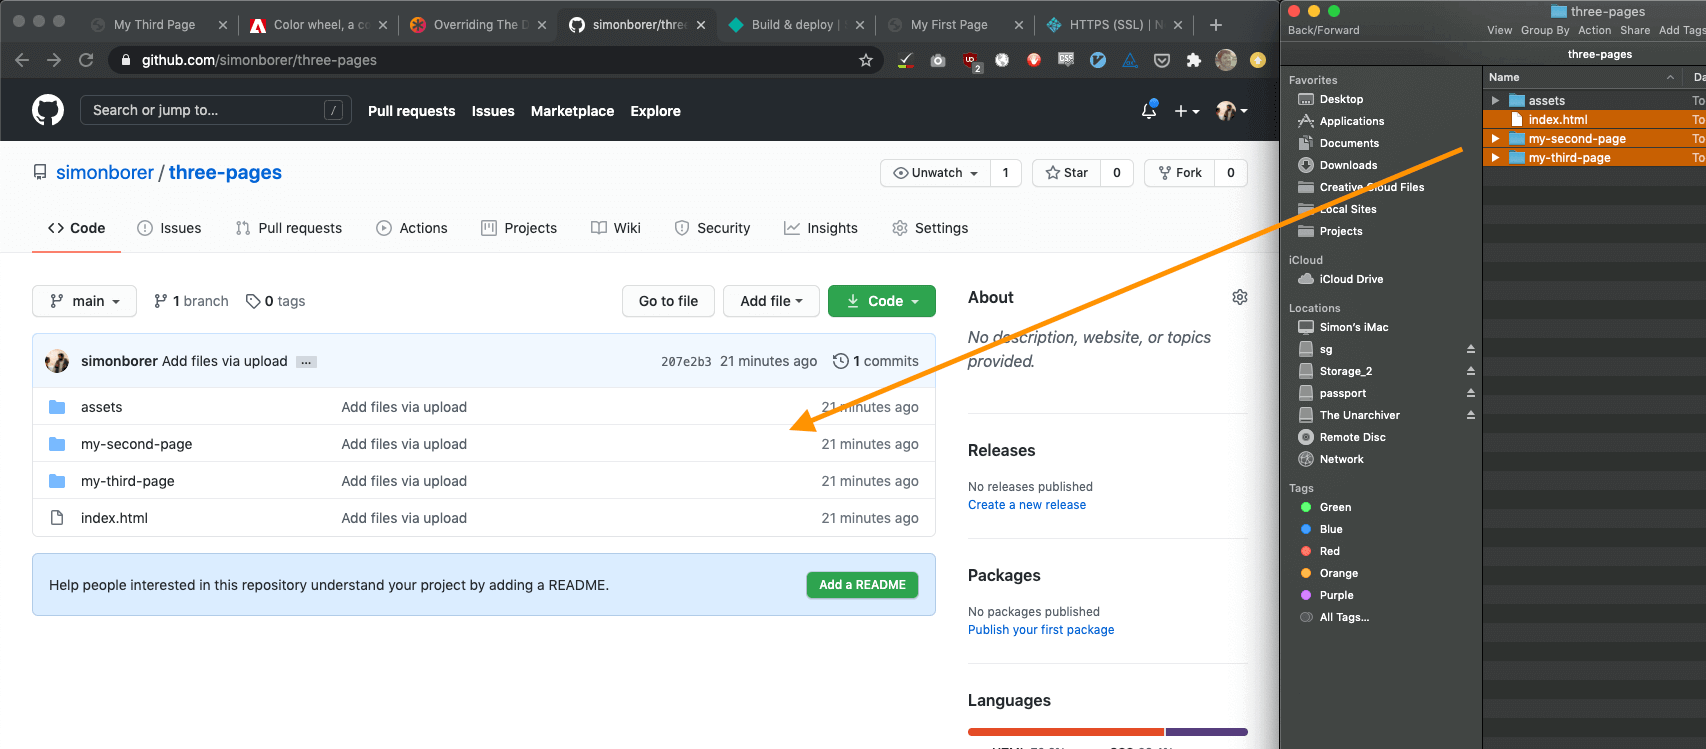
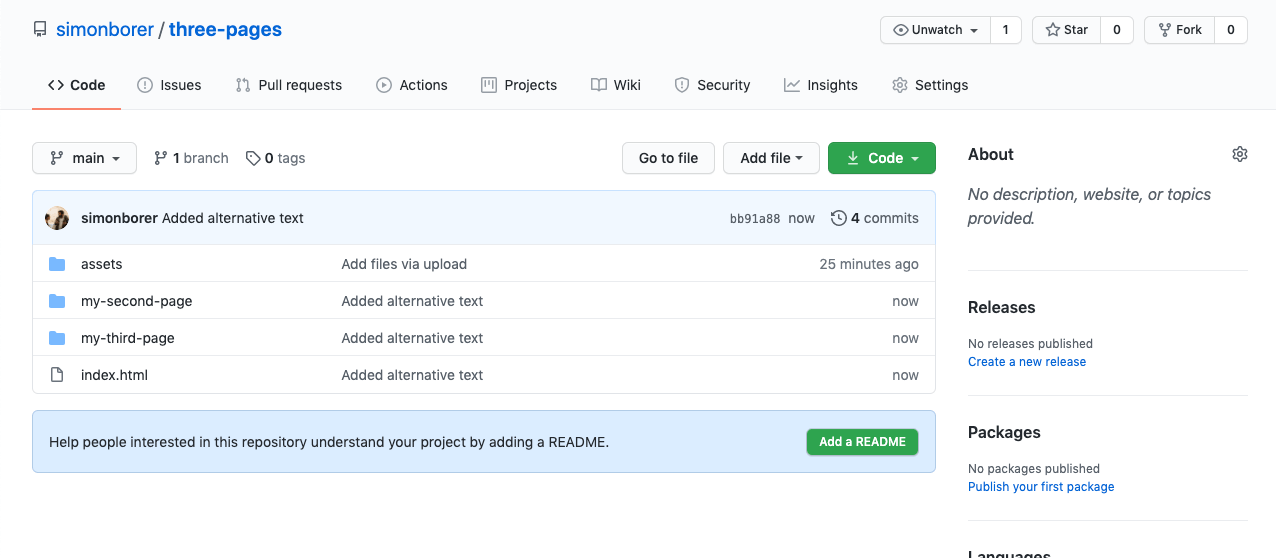
Now, go back to your repository in Github, and drag your changed files/folders onto your existing files. You don't have to drag any files that you didn't change (in this case, I didn't make any changes to the "assets" folder).
Make sure you add a message about what you changed, and then click "Commit changes".
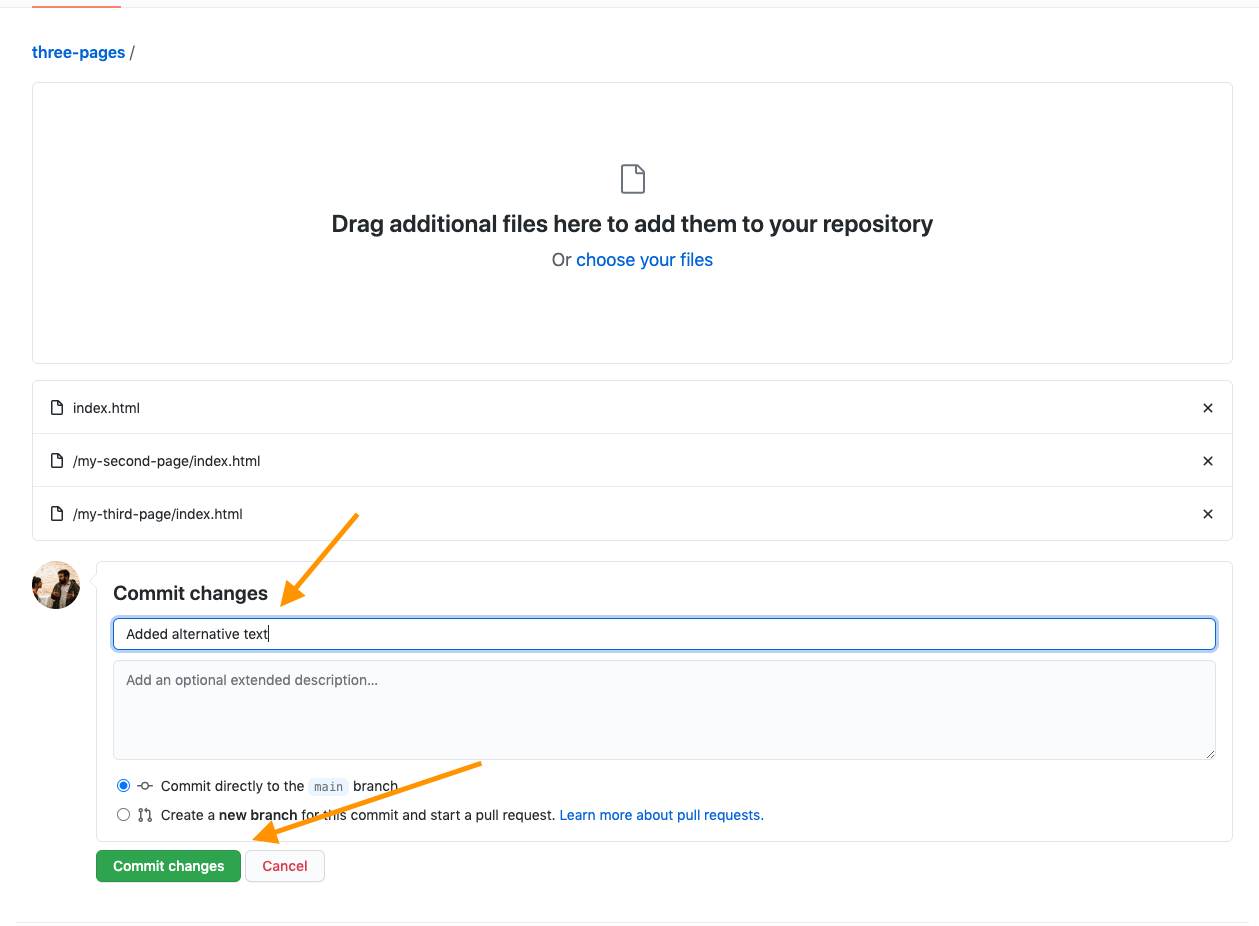
Now I can see which files I changed, when I changed them, and why I changed them.
Now if I go back to my website, I can see that my assets are being optimized. Netlify will put a new version of your website onto the internet every time you make a change in your code on Github.